


Smoke residue can spread much further than the area where smoke was originally produced. Fine particles may settle on walls, ceilings, corners, frames and other surfaces, leaving behind visible black or grey marks. A soot sponge provides a useful dry-cleaning option for removing suitable loose residue before other cleaning methods are considered.
Although using a sponge appears straightforward, smoke and soot cleaning requires patience. Technique, pressure, surface condition and the order in which areas are cleaned can all affect the result. The following practical tips can help cleaners, homeowners and maintenance professionals approach smoke-affected surfaces more effectively.
Inspect the Entire Area Before Cleaning
One of the biggest mistakes is immediately cleaning the darkest mark while ignoring the rest of the room.
Smoke travels with air movement and naturally rises.
As a result, contamination may be present on surfaces that initially appear clean.
Areas Worth Checking
Inspect:
- Ceilings
- Upper walls
- Cornices
- Wall corners
- Door frames
- Window surrounds
- Air vents
- Shelves
- Light fittings
- Areas behind furniture
- Surfaces near fireplaces
Looking at the whole area first helps you plan a more consistent cleaning process.
Determine the Severity of the Smoke Damage
Not every smoke-cleaning job should be handled the same way.
A small fireplace mark may be suitable for careful surface cleaning, while widespread contamination after a serious fire requires specialist assessment.
Professional assistance should be considered where there is:
- Structural damage
- Heavy soot throughout several rooms
- Electrical damage
- Strong persistent odour
- Contamination inside ventilation systems
- Uncertainty about burned materials
Safety should always come before cosmetic cleaning.
Protect the Surrounding Area
When soot is removed from walls or ceilings, some particles may fall.
Protect flooring, furniture and nearby items before you begin.
Useful Preparation Steps
- Move small furniture away from the wall.
- Cover flooring if required.
- Keep waste bags nearby.
- Use suitable gloves.
- Wear eye protection when working overhead.
- Ensure the room has adequate lighting.
- Keep clean tools separate from contaminated tools.
Preparation reduces unnecessary cleanup later.
Always Test the Surface
Paint finishes, wallpaper and decorative coatings can react differently.
Before cleaning a large visible area, test a small section.
Check whether:
- Colour transfers
- The finish becomes shiny
- Paint begins to lift
- Wallpaper becomes damaged
- Streaking appears
- The material feels fragile
If the surface reacts poorly, stop and reconsider the cleaning method.
Keep the Initial Cleaning Process Dry
A soot sponge is intended to help with dry particulate removal.
Avoid automatically wetting it as if it were an ordinary kitchen sponge.
Water can cause loose soot to spread, particularly when the residue is fine and powdery.
Starting dry gives you a chance to remove surface contamination before deciding whether any wet treatment is required.
Use Light, Controlled Pressure
Heavy scrubbing is not necessarily more effective.
It may damage delicate finishes or move contamination around.
Use smooth strokes and let the sponge make contact with the surface naturally.
A Better Technique
- Start with a test patch.
- Work in one small section.
- Apply light pressure.
- Inspect the surface.
- Check the sponge.
- Move to a clean working section when needed.
- Continue systematically.
This creates a more predictable cleaning pattern.
Divide Large Areas Into Sections
Large walls and ceilings should not be cleaned randomly.
Divide them into manageable zones.
This makes it easier to compare cleaned and uncleaned areas and reduces the chance of missing sections.
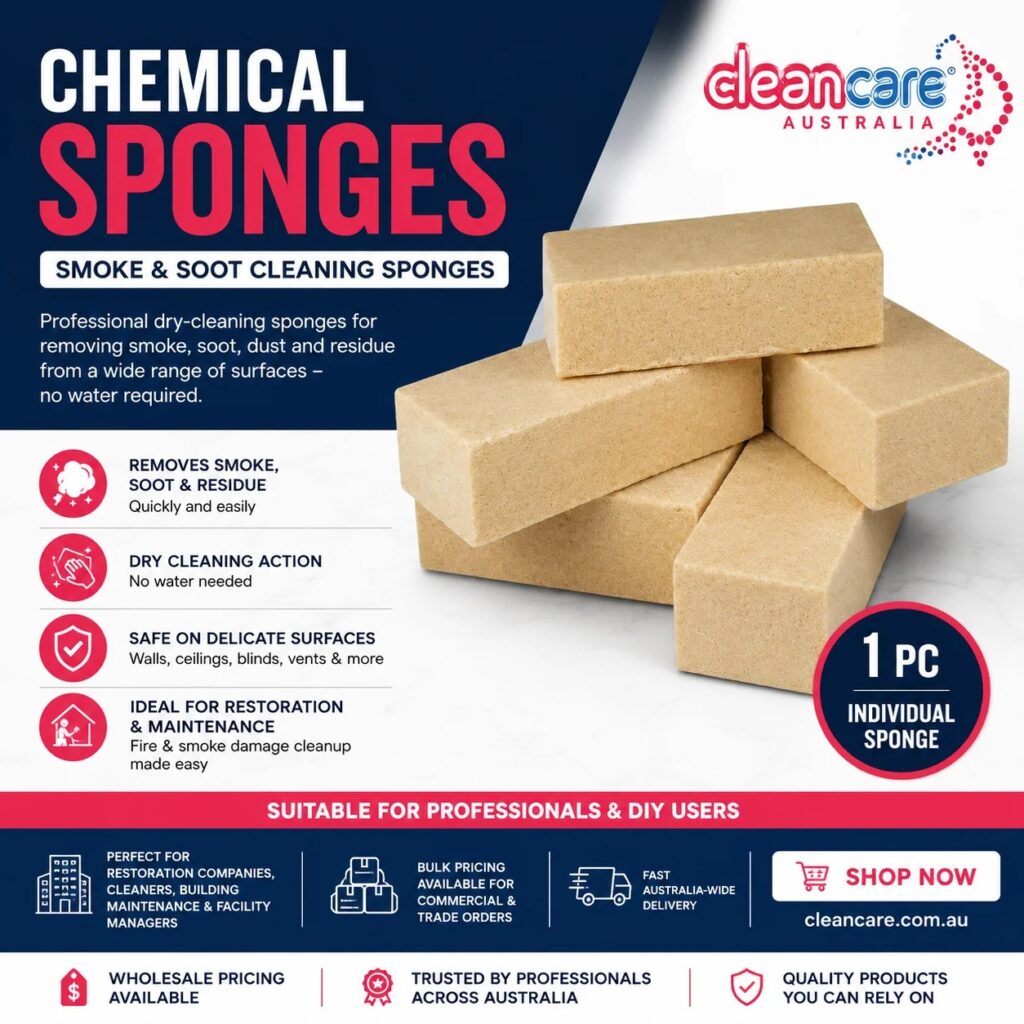
Chemical Sponges can be convenient for this type of work because the cleaner can concentrate on dry residue removal without continually spraying cleaning solution onto vertical surfaces.
Pay Extra Attention to Ceilings
Ceilings are often overlooked even though smoke naturally rises.
A ceiling may show widespread light contamination even when the walls only have isolated dark marks.
Ceiling Cleaning Tips
- Use a stable ladder or platform.
- Avoid standing on chairs or furniture.
- Work with sufficient lighting.
- Wear suitable eye protection.
- Reposition equipment rather than overreaching.
- Work in small sections.
- Take breaks during large jobs.
Safety is especially important when cleaning overhead.
Check Corners, Edges and Frames
Smoke can collect in detailed areas where airflow changes.
After the main surface is cleaned, inspect:
- Ceiling edges
- Corners
- Skirting-adjacent areas
- Door frames
- Window frames
- Vent surrounds
- Decorative trims
These smaller areas can make an otherwise cleaned room still look unfinished.
Avoid Cross-Contamination
A dirty sponge or glove can transfer soot onto surfaces that have already been cleaned.
Create a simple system for clean and contaminated tools.
For larger jobs, use separate areas for:
- Clean supplies
- Used cleaning materials
- Waste
- Protective equipment
Professional restoration contractors often manage contamination carefully because poor tool handling can increase the amount of rework required.
Do Not Keep Using a Heavily Contaminated Surface
As the sponge collects soot, the working face becomes darker.
Continuing to use a heavily contaminated section can reduce effectiveness.
Inspect the sponge frequently.
Use a cleaner working area or replace the sponge when appropriate.
Reassess the Surface After Dry Cleaning
Once loose contamination has been reduced, stop and look at the result.
Do not automatically move to wet cleaning.
Ask:
- Is the remaining mark loose soot or staining?
- Has the paint finish been permanently affected?
- Is further cleaning likely to help?
- Is odour still present?
- Will repainting be necessary?
- Should a professional restoration contractor inspect the area?
This reassessment prevents unnecessary cleaning.
Understand That Cleaning May Not Solve Everything
Smoke damage can affect materials in several ways.
Some surfaces may remain discoloured after loose residue is removed.
Others may hold smoke odour.
Further work could involve:
- Additional cleaning
- Odour-control procedures
- Surface sealing
- Stain-blocking preparation
- Repainting
- Material replacement
A dry-cleaning sponge should therefore be considered one useful tool within a complete restoration process.
Common Soot Cleaning Mistakes
Avoid these frequent errors:
- Starting with a wet cloth
- Scrubbing aggressively
- Skipping a test area
- Ignoring ceilings
- Working in poor lighting
- Using dirty equipment in cleaned areas
- Treating all paint finishes the same
- Painting before preparing the surface properly
- Assuming every dark mark is loose soot
Careful cleaning often takes less effort than fixing mistakes created by rushing.
Why Choose CleanCare Australia?
CleanCare Australia provides cleaning chemicals, equipment, machinery, accessories and specialist cleaning products for professional, commercial and domestic users. Its range is suited to cleaners, property managers, maintenance teams, restoration professionals and homeowners dealing with different cleaning challenges. Customers requiring a purpose-made smoke sponge can source an option designed for dry cleaning of smoke, soot, dust and residue on suitable surfaces. Working with a specialist cleaning supplier also provides access to related products for wider cleaning and maintenance tasks.
Final Thoughts
Successful soot cleaning is more about control than force. Inspect the entire area, test the surface, protect surrounding materials and work in manageable sections using light pressure. Pay particular attention to ceilings, corners and detailed areas, and reassess the surface before introducing another cleaning method. With the correct technique, a soot sponge can be a practical tool for handling light to moderate smoke residue on suitable surfaces.